In summary:
- Move beyond simple velocity changes and timing nudges to achieve true human expression.
- Embrace modern tools like MPE and clever macro mapping to translate physical gestures into dynamic sound.
- Focus on intentional performance by understanding rhythmic hierarchy and the physical feel of your controller.
- Ensure your technical setup (drivers, buffer size) is optimized to capture, not hinder, your creative performance.
There’s a frustration every modern producer knows intimately: you’ve composed a beautiful piano melody or a powerful orchestral arrangement, but it sounds sterile, mechanical, and lifeless. The soul is missing. Your tracks sound like they were programmed by a machine, because, well, they were. For years, the common advice has been to « humanize » your MIDI by randomizing velocities and nudging notes off the rigid DAW grid. While this can prevent a track from sounding perfectly robotic, it often just replaces one problem (rigidity) with another (aimless sloppiness).
This approach misses the fundamental point of human performance. A great musician isn’t random; they are intentional. Every subtle variation in timing, dynamics, and articulation serves the music. The secret to breathing life into your virtual instruments isn’t about adding randomness; it’s about capturing intentional, expressive gestures through your MIDI controller. It’s about learning to « perform » your VSTs, not just program them. This requires a shift in mindset from fixing problems in the piano roll to creating expression at the source: your fingertips.
This guide explores the tools and techniques to bridge that gap. We will delve into the future of expressive control with MPE, unlock the power of macros for any controller, and examine the crucial link between your technical setup and your creative freedom. By the end, you will have a new framework for thinking about MIDI—not as a set of static instructions, but as a channel for genuine human artistry.
To navigate this journey from robotic to realistic, this article is structured to build your skills progressively. The following sections will guide you through the key concepts and practical applications needed to master expressive digital performance.
Summary: A Producer’s Guide to Expressive MIDI Performance
- Why MPE (MIDI Polyphonic Expression) Is the Future of Synth Playing?
- How to Map Macros for Live Performance Without Touching the Laptop?
- Drum Pads or Keyboard: Which Is Better for Programming Beats?
- The Driver Mistake That Makes Old Controllers Useless on New Macs
- Sequencing & Planning: Adjusting Buffer Size for Recording vs Mixing
- Sequencing & Planning: syncing Modular Rigs with a Live Drummer
- Why Counting Subdivisions Is the Secret to Grooving Like a Pro?
- How to Organize a 50-Track Session Without Losing Your Creative Mind?
Why MPE (MIDI Polyphonic Expression) Is the Future of Synth Playing?
For decades, MIDI has been the universal language of electronic music, but it has always had a fundamental limitation. Standard MIDI channels apply expression data like pitch bends or modulation to all notes being played simultaneously. You couldn’t bend one note in a chord without bending them all. This is where MIDI Polyphonic Expression (MPE) revolutionizes digital performance. MPE treats every single note as its own expressive entity, with its own dedicated channel for pitch, pressure, and timbre control.
Imagine playing a chord on a synth and being able to apply vibrato to just one finger, slide another note up a semitone, and alter the filter cutoff of a third note with pressure—all at the same time. This is the power of MPE. It transforms a static keyboard into a dynamic, multi-dimensional performance surface, much closer to the experience of playing an acoustic instrument like a violin or guitar. This level of per-note control is the key to unlocking a new world of articulation that was previously impossible to capture in a single take.
While it may sound like a niche, futuristic concept, MPE is rapidly becoming a standard. After the specification was adopted in January 2018 by the MIDI Manufacturers Association, adoption has soared. Major DAWs like Ableton Live and Logic Pro offer full MPE support, and a growing ecosystem of hardware controllers (like the ROLI Seaboard, Roger Linn’s LinnStrument, and ASM’s Hydrasynth) and MPE-compatible VSTs are now widely available. It represents a fundamental shift from programming notes to performing sound itself.
How to Map Macros for Live Performance Without Touching the Laptop?
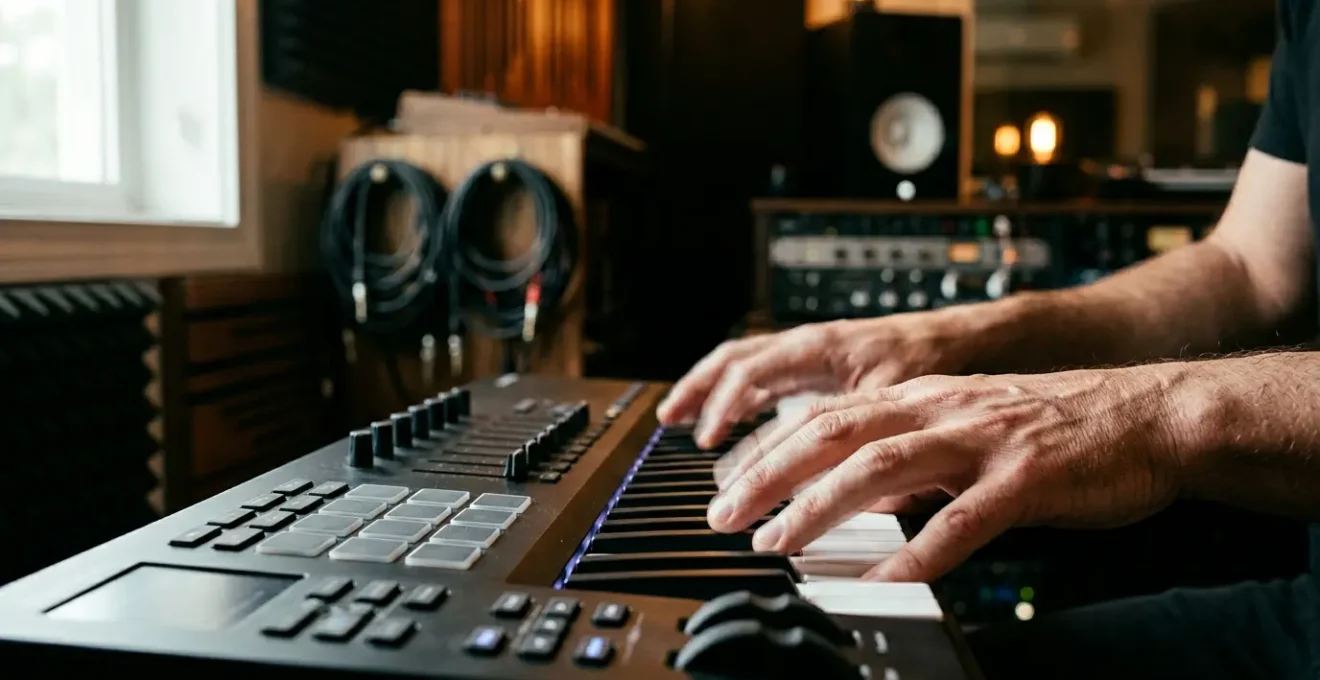
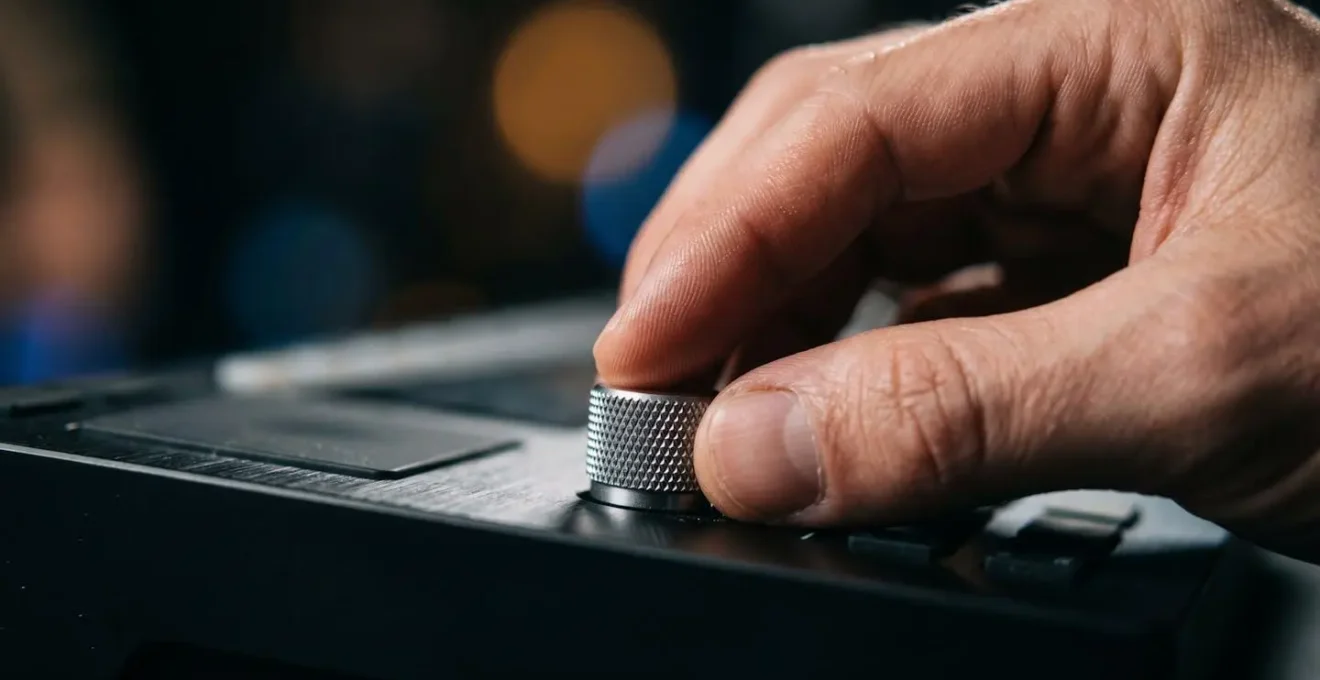
While MPE offers the ultimate in expressive control, you don’t need a brand-new controller to start performing more dynamically. One of the most powerful and underutilized features in modern DAWs is the macro knob. A macro allows you to assign multiple VST parameters to a single physical knob or fader on your MIDI controller, enabling complex, layered sonic transformations with one simple gesture.
This is the essence of moving from a programmer to a performer. Instead of painstakingly automating a filter sweep, a reverb increase, and a delay feedback rise separately with a mouse, you can map them all to one knob. As you turn it, you create a cohesive, repeatable, and musically expressive transition. Think of it as creating your own custom « performance functions »: a ‘Tension’ knob that raises a filter and adds distortion, or a ‘Wash Out’ knob that increases reverb decay and simultaneously lowers the dry signal.
This hands-on approach keeps you in the creative flow, away from the screen. By mapping these expressive controls before you hit record, you can focus entirely on the music and capture dynamic, evolving performances in real-time. The key is to think about what musical changes you want to make and then build the macro to execute that vision. It’s about designing your instrument’s response to your touch.
Action Plan: Building Performance-Ready Macros
- Map the Primary Control: Right-click a macro knob in your DAW’s instrument rack and select MIDI Learn. Twist the desired knob on your controller to establish the physical connection.
- Assign Multiple Parameters: Begin mapping VST parameters to the macro. For example, map the filter cutoff’s full range (0-100%) to the macro knob.
- Define Parameter Ranges: This is where the magic happens. Map a second parameter, like reverb dry/wet, but constrain its range. For instance, set the reverb to only activate when the macro knob is between 50% and 100%. Now, the first half of the knob turn opens the filter, and the second half adds reverb.
- Name for Clarity: Give your macro a descriptive name like « Filter & Reverb Swell » or « Gritty Breakdown ». This is crucial for remembering its function weeks later.
- Save as a Preset: Once you’ve crafted the perfect expressive macro setup, save the entire instrument or effects rack as a preset. This makes your custom performance tool instantly recallable for future projects.
Drum Pads or Keyboard: Which Is Better for Programming Beats?
When it comes to programming rhythm, the physical interface you choose profoundly impacts the result. While you can certainly tap out a beat on a piano keyboard, the feel and response are fundamentally different from using dedicated drum pads. The choice isn’t just about preference; it’s about translating the right kind of physical gesture into MIDI data for percussive sounds.
Keyboard keys are designed to be pressed, with a longer travel distance suited for melodic and harmonic playing. Drum pads, on the other hand, are designed to be struck. They have a shorter, more immediate response with a quick rebound that mimics the feel of hitting a real drum or percussion instrument. This tactile difference makes it far more intuitive to program the sharp, nuanced dynamics of a drum groove—think ghost notes, flams, and accented hits—on pads. It encourages a « finger drumming » approach that naturally leads to less quantized, more human-feeling rhythms.
The following table, based on an in-depth analysis of controller types, breaks down the core differences to help you decide which tool best fits your rhythmic workflow.
| Feature | Drum Pads | Keyboard Keys |
|---|---|---|
| Physical Feel | Struck rather than pressed – mimics percussive playing | Pressed with longer key travel – pianist approach |
| Dynamic Range | Excellent velocity sensitivity for sharp attack and rebound | Better for wide dynamic range with sustained expression |
| Best Use Case | Drums and percussion – finger drumming, ghost notes, flams | Melodic parts and complex polyrhythmic patterns |
| Learning Curve | Intuitive for non-keyboard players and drummers | Natural for keyboard players and pianists |
| Ideal Application | J Dilla-style unquantized beats, live clip triggering | Precise data entry, layered rhythmic programming |
Ultimately, for injecting a human groove into drum tracks, pads are generally the superior choice. They align the physical action with the intended sound in a way that a keyboard cannot, making the process of creating dynamic, living beats more intuitive and rewarding.
The Driver Mistake That Makes Old Controllers Useless on New Macs
All the expressive techniques in the world are useless if your computer doesn’t recognize your MIDI controller. A common and deeply frustrating issue for producers, especially on modern macOS systems, is when a perfectly functional older controller suddenly stops working. Often, the culprit isn’t a hardware failure but a simple, yet obscure, driver conflict. This is a critical technical hurdle that can completely halt creative momentum.
As operating systems evolve, they often build in native support for hardware, known as « class-compliant » drivers. This means you can plug in a device and it works without installing any special software. However, many older controllers required users to install proprietary drivers from the manufacturer. When you upgrade your Mac, these old, outdated drivers can conflict with the new OS’s native MIDI handling, effectively making your controller invisible to your DAW.
Case Study: The KORG Legacy Driver Conflict
A prime example of this issue involves older KORG MIDI controllers. According to KORG’s official compatibility documents, their legacy USB-MIDI driver is incompatible with macOS 10.15 Catalina and later. If this old driver is present on an updated system, it prevents the Mac from using its own built-in driver, rendering devices like the microKONTROL and KONTROL49 unusable. The solution requires the user to manually navigate to hidden system folders (like Library/Audio/MIDI Drivers) and delete the old KORG driver file. Once removed, a system reboot allows macOS to correctly identify the controller as a class-compliant device, restoring its functionality.
If your controller isn’t showing up, before assuming it’s broken, the first step should always be to hunt down and remove any old third-party MIDI drivers. If that doesn’t work, resetting your Mac’s MIDI configuration is the next logical step.
- Disconnect all USB MIDI devices.
- Open the Audio MIDI Setup utility (in Applications > Utilities).
- From the menu bar, go to Window > Show MIDI Studio.
- Click the « Configuration » dropdown and select « New Configuration » to create a fresh, empty setup.
- Reconnect your MIDI controllers one by one, allowing each to be recognized before plugging in the next.
Sequencing & Planning: Adjusting Buffer Size for Recording vs Mixing
To capture an expressive, human performance, the technical connection between your fingers, the controller, and the sound you hear must be instantaneous. Any perceptible delay, known as latency, shatters the illusion and forces you to play ahead of the beat, making a natural groove impossible. This delay is directly controlled by a crucial setting in your DAW’s audio preferences: the buffer size.
The buffer size determines how much time your computer has to process audio data. A high buffer size (e.g., 1024 or 2048 samples) gives your CPU plenty of time to work, which is ideal for mixing and mastering large sessions with many plugins, as it prevents clicks, pops, and system overloads. However, this large buffer also creates significant latency, making it unsuitable for recording.
Conversely, a low buffer size (e.g., 32, 64, or 128 samples) forces your computer to process audio almost instantly. This results in near-zero latency, creating that crucial, immediate connection needed for recording expressive MIDI parts. The trade-off is that it places a much higher load on your CPU. The key to a fluid workflow is to know when to use each setting. You must adopt a two-stage process: set the buffer size low for recording to capture your performance accurately, then set it high for mixing to ensure stable playback.
Sequencing & Planning: Syncing Modular Rigs with a Live Drummer
The quest for humanization often leads producers to focus on making their machines sound more like humans. But an equally powerful perspective comes from the opposite direction: making machines play *with* humans. The challenge of syncing a rigid, grid-based modular synthesizer or sequencer with the fluid, breathing tempo of a live drummer reveals the true essence of human groove.
A live drummer doesn’t play to a perfectly straight metronome. Their tempo ebbs and flows, pushing ahead in energetic sections and laying back in soulful moments. This is the « pocket » that makes music feel alive. Simply sending a static MIDI clock from your DAW to the drummer’s headphones and expecting them to follow it slavishly will drain the life from their performance. True synergy requires the machine to adapt to the human, not the other way around.
This is where my core philosophy of intentionality comes into focus. As an insightful quote from the audio experts at Wide Blue Sound puts it, this imperfection is not a flaw; it’s a feature of expert musicianship.
Real performers have an internal clock that’s beautifully imperfect. Intentionally, musicians push ahead for drive, or lay back for soul. Unintentionally, the psychological drifts around the pocket create a push and pull of their own.
– Wide Blue Sound, Humanizer Pro Product Description
To achieve this, producers can use tools like tempo-sensing devices that listen to the drummer and generate a dynamic MIDI clock, or manually « tap tempo » in real-time. This allows your sequences to follow the drummer’s natural rhythm, creating a unified performance where the electronic and acoustic elements breathe together. It forces you to think of timing not as a rigid grid, but as a living, fluctuating pulse.
Why Counting Subdivisions Is the Secret to Grooving Like a Pro?
If the « pocket » of a live drummer is the goal, how do we program that feel intentionally instead of just randomly nudging notes? The secret lies in understanding and controlling rhythmic hierarchy through subdivisions. A professional drummer doesn’t play every hi-hat hit at the same volume. They create a pattern of accents based on the beat’s structure, and this is what creates the groove. By applying this same logic to MIDI velocity, you can move from flat, robotic patterns to dynamic, propulsive rhythms.
Think of a standard 16th-note pattern. Instead of four equal hits per beat, a drummer’s arm motion creates a natural hierarchy. The downbeats (1, 2, 3, 4) are strongest. The off-beat eighth notes (the « & »s) are secondary. The 16th-note « in-betweeners » (the « e »s and « a »s) are the softest, acting as ghost notes. By systematically programming your MIDI velocities to reflect this physical reality, you create a pulse that feels deliberate and human.
This isn’t just about making notes quieter. As experts at Unison Audio point out, modern sample libraries are incredibly deep, and velocity often triggers entirely different sounds.
In Superior Drummer 2, hitting a snare at 40 doesn’t just make it quieter, it literally triggers a different sample layer that sounds softer and muffled.
– Unison Audio, How to Humanize MIDI Like a True Professional
This means that varying your velocity isn’t just changing the volume; it’s changing the timbre and articulation of the instrument, which is a cornerstone of human expression. The following steps outline how to apply this concept to a simple hi-hat pattern:
- Set your DAW’s grid to 16th notes to visualize the rhythmic skeleton.
- Program a straight 16th-note hi-hat pattern with all notes at a default velocity.
- Apply Velocity Hierarchy: Set the downbeats (1, 2, 3, 4) to the highest velocity (e.g., 100-110).
- Set the off-beat 8th notes (‘&’) to a medium velocity (e.g., 70-85).
- Set the remaining 16th notes (‘e’ and ‘a’) to the lowest velocity (e.g., 50-65) to function as ghost notes.
- Listen to the result. You’ve just programmed a basic groove, not just a series of notes.
Key Takeaways
- True humanization comes from intentional performance, not just randomizing MIDI data.
- Use tools like MPE and macros to map complex, layered expressions to simple physical gestures on your controller.
- The physical feel of your controller (pads vs. keys) and your system’s latency (buffer size) directly impact your ability to perform expressively.
- Groove is built on rhythmic hierarchy; use structured velocity changes on subdivisions to mimic the natural dynamics of a live musician.
How to Organize a 50-Track Session Without Losing Your Creative Mind?
Expressive performance is a fleeting, magical thing. When inspiration strikes, the last thing you want is to be bogged down by a chaotic, disorganized project file. A cluttered DAW session is a creativity killer. Finding that one specific synth pad among 50 unnamed tracks can completely derail your flow. Therefore, a disciplined approach to session organization isn’t just a technical exercise; it’s a foundational practice that enables and preserves creative expression.
The goal is to make your session so intuitive that you can navigate it by instinct, without conscious thought. This allows you to stay focused on performance and decision-making. Simple strategies like color-coding, consistent naming conventions, and the use of groups or busses can transform a session from a tangled mess into a clear, legible workspace. By creating a system, you free up mental bandwidth that would otherwise be wasted on searching and problem-solving.
A powerful method is to color-code tracks based on their musical function. This provides an immediate visual map of your arrangement, allowing you to see the song’s structure at a glance.
- Red for Leads: Main vocals, lead synths, or any element that is the primary focus.
- Blue for Rhythm: The foundation—drums, percussion, and bass.
- Green for Atmosphere: Pads, ambient textures, and spatial effects that create depth.
- Yellow for Ear Candy: FX, risers, and one-shots that add moments of surprise.
Combining this with creating session templates that have your favorite instruments, routing, and expressive effects sends (like a subtle room reverb or a slap delay) already set up means you can capture an idea the moment it arrives, without being stopped by technical setup. A clean workspace is a canvas for creativity, not an obstacle to it.
By shifting your focus from randomizing MIDI to performing with intention, you can finally close the gap between the music in your head and the sound coming out of your speakers. The key is to embrace your MIDI controller not as a data-entry device, but as a true musical instrument. Start today by applying these principles to your next project and transform your robotic tracks into living, breathing performances.