Successfully integrating an analog console isn’t about chasing ‘warmth,’ but about architecting a robust hybrid system that masters signal flow and eliminates workflow friction.
- This means understanding the physics of analog summing over digital bouncing and proactively managing latency with precise calibration.
- It requires a disciplined approach to recall and a systemic strategy for eliminating noise and ground loops before they become catastrophic.
Recommendation: Treat your studio not as a collection of gear, but as an integrated system with a clear workflow architecture.
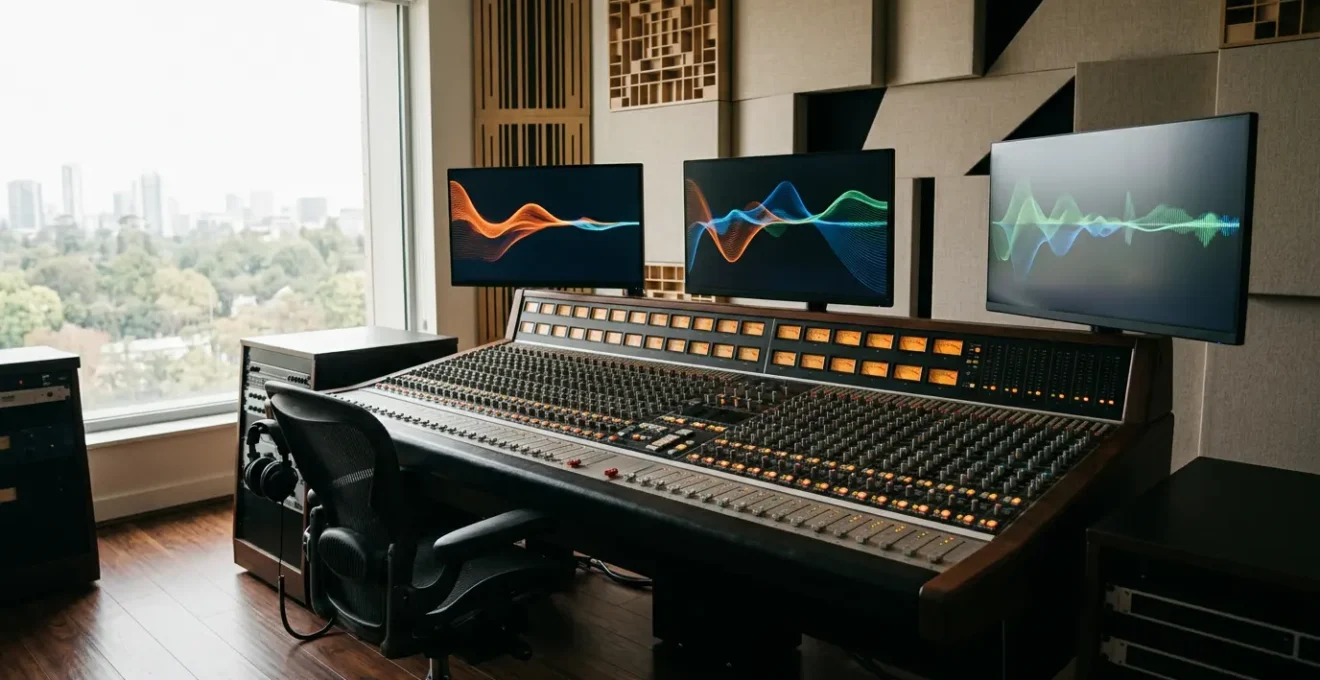
The allure of a large-format analog mixing console is undeniable. For studio owners, it represents the heart of professional audio: tactile control, the promise of a larger-than-life sound, and a commanding centerpiece for the control room. Yet, the reality of integrating this analog behemoth into a modern, fast-paced Digital Audio Workstation (DAW) workflow is often a rude awakening. The dream of « analog warmth » quickly dissolves into the nightmare of latency issues, a rising noise floor, incessant hum, and the dreaded impossibility of a quick mix revision.
The common discourse often circles around simplistic platitudes. You’re told to embrace the « mojo » or that analog summing is just inherently « better. » But these statements fail to address the core engineering challenge. The integration is not a simple plug-and-play operation; it’s an act of system architecture. The goal isn’t merely to pass audio through another box, but to build a cohesive, efficient, and reliable hybrid system that leverages the best of both worlds without succumbing to their respective weaknesses.
But what if the key wasn’t in the gear itself, but in the blueprint of your workflow? This guide moves beyond the surface-level romance of analog and dives into the architectural principles of a truly functional hybrid studio. We will deconstruct the systemic pitfalls—latency, recall, noise, and translation—and provide engineering-grade solutions. We will analyze the physics of summing, calculate the true cost of vintage versus modern, and establish protocols that make your hybrid setup a creative asset, not a technical liability. This is your blueprint for building a workflow that is not just functional, but formidable.
This article provides a comprehensive framework for tackling this integration challenge. We will explore everything from the science of analog summing to the practicalities of managing noise and ensuring your mixes translate outside the studio. The following summary outlines the key areas we will cover.
Summary: Architecting the Hybrid Studio Workflow
- Why Analog Summing Creates More Depth Than « In-the-Box » Bouncing?
- How to Route Hardware Effects Send/Return Without Latency?
- Vintage Desk or New Mixer: Which Is a Bigger Money Pit?
- The Workflow Error That Makes Revisions Impossible on Analog Desks
- Problem & Solution: Managing Noise Floor When Chaining Analog Gear
- How to Build a Mixing Template That reducing Setup Time by 50%?
- Problem & Solution: Eliminating Ground Loops in a Complex Setup
- Why Your Mixes Translate Poorly Even With Expensive Monitors?
Why Analog Summing Creates More Depth Than « In-the-Box » Bouncing?
The debate between analog summing and « in-the-box » (ITB) bouncing is often shrouded in subjective terms like « warmth » or « glue. » The truth, however, lies in the physics of electronics. A digital summing algorithm is a mathematical process: it adds numbers together with perfect precision and predictability. An analog summing amplifier, by contrast, is a physical circuit. When multiple signals are combined within it, they interact. The slight non-linearities, micro-distortions, and subtle crosstalk inherent in the analog domain create a complex harmonic soup. This is not a flaw; it’s a feature. Instead of a sterile addition, you get a subtle blending and enrichment that our ears perceive as depth and cohesion.
This isn’t just audiophile conjecture; it’s been demonstrated in controlled tests. An in-depth blind test comparing a Dangerous Music analog summing mixer to digital emulations revealed measurable differences. The analog mixer exhibited no predictable harmonic behavior, creating a more complex and organic soundstage. In listening tests, this translated to a greater sense of width and transient separation, particularly noticeable in how instruments like bass and guitar occupied distinct spaces in the mix. The analog example demonstrated greater width and transient separation, creating a more three-dimensional listening experience compared to the flatter, more two-dimensional feel of some digital sums.
However, this effect isn’t universally « better » for all music. The preference is often genre-dependent. Research has shown that while listeners may prefer the punch and grit of analog summing for genres like hard rock, the pristine clarity of digital summing is often favored for classical music, where absolute fidelity to the source is paramount. The choice, therefore, is an architectural one: what sonic characteristics best serve the material you are working on? Understanding this distinction allows you to use analog summing as a deliberate creative tool, not a default magic bullet.
How to Route Hardware Effects Send/Return Without Latency?
One of the primary reasons for integrating a console is to use its routing flexibility and incorporate outboard hardware effects. However, this is where the digital and analog worlds collide, creating the number one workflow killer: latency. Sending a track from your DAW to a hardware compressor and back introduces a delay—the time it takes for the audio to travel out of your interface, through the hardware, and back in. Without proper compensation, this delay will throw the processed track out of phase with the rest of your mix, resulting in a thin, weak sound plagued by comb filtering.
Modern DAWs have a built-in solution: Automatic Latency Compensation. This system, however, needs to be told exactly how long the round-trip delay is for each specific piece of hardware. This is not a one-size-fits-all number; it depends on your audio interface’s converters, the hardware unit itself, and your cabling. The process of calibrating this is systematic and non-negotiable for a professional workflow. You must « ping » the hardware loop to measure the exact delay in samples and then input that offset into your DAW’s I/O setup.
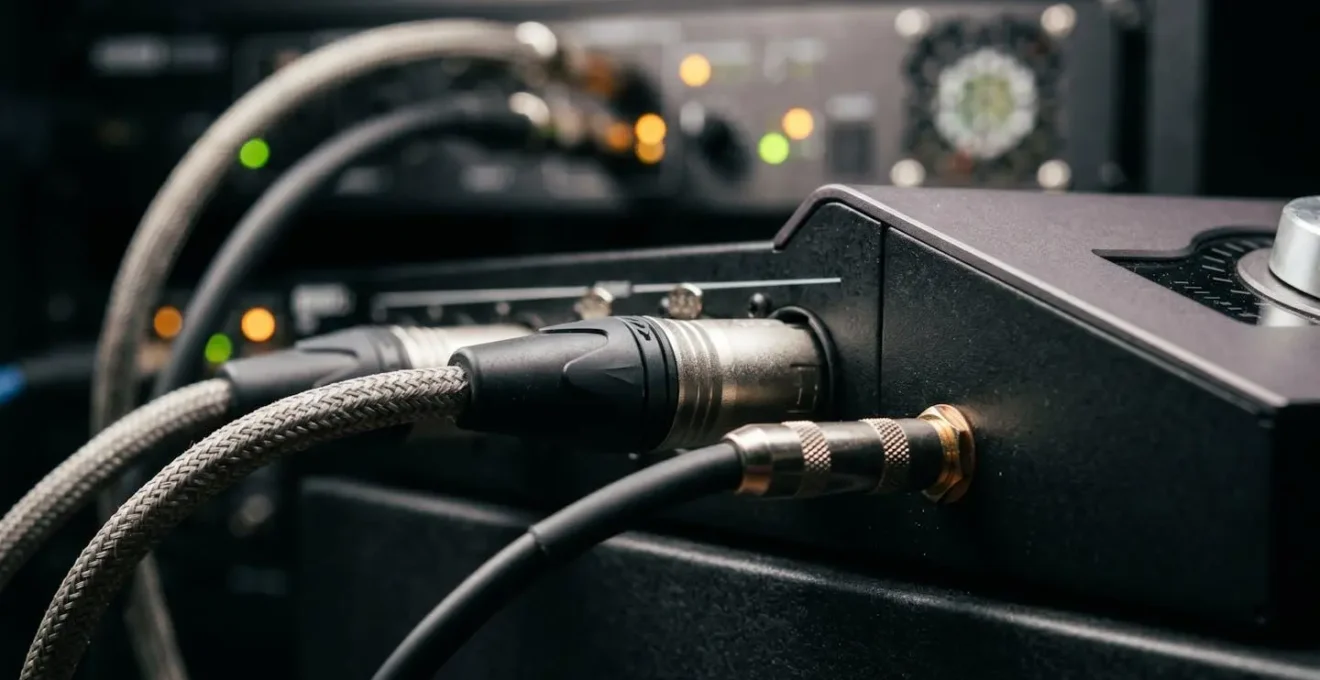
As the visualization above suggests, this is about creating a perfect timing alignment between the digital and analog realms. Once this latency offset is calibrated and saved, your DAW will automatically shift all other tracks forward by that exact amount, ensuring the returning signal from your hardware is perfectly in sync with the rest of the session. A comprehensive guide to hardware inserts outlines this calibration as the foundational step. Without this precise, per-device calibration, your hybrid setup will constantly fight itself, and you’ll spend more time troubleshooting phase issues than mixing.
Vintage Desk or New Mixer: Which Is a Bigger Money Pit?
For a studio owner, the choice between a classic vintage console and a modern hybrid mixer is a major capital decision. The romance of owning a piece of history—a Neve, API, or SSL with a storied past—is powerful. But this romance can quickly turn into a financial quagmire if you only consider the initial purchase price. The real metric to analyze is the 5-Year Total Cost of Ownership (TCO), which paints a far more realistic picture of the long-term investment.
A vintage console is a living, breathing, and aging entity. It requires constant care. This includes expensive and time-consuming tasks like « re-capping » (replacing dozens or hundreds of electrolytic capacitors that dry out over time), sourcing rare and costly replacement parts, and hiring one of a dwindling number of specialized technicians who know how to service these complex machines. Furthermore, their older, inefficient designs consume vast amounts of power and generate significant heat, often requiring expensive upgrades to your studio’s HVAC and electrical systems. When a critical component fails, the resulting downtime can be catastrophic for a commercial facility.
In contrast, a modern hybrid console is designed for today’s studio realities. It comes with a manufacturer’s warranty, reliable customer support, and a network of qualified technicians. Its power consumption is a fraction of its vintage counterpart, and its streamlined I/O is designed to integrate seamlessly with DAWs, reducing the need for massive, expensive patchbays. While it will depreciate in value much faster than a classic console, its operational costs are dramatically lower and more predictable. The following table breaks down this financial reality.
This comparative analysis of ownership costs is essential for any serious buyer.
| Cost Factor | Vintage Console (e.g., Neve, API) | Modern Hybrid Console |
|---|---|---|
| Initial Purchase | $15,000 – $50,000+ (depending on condition) | $8,000 – $35,000 |
| Scheduled Maintenance | $2,000 – $5,000/year (re-capping, repairs) | $300 – $800/year (warranty service) |
| Power Consumption | High (older transformers, inefficient design) | Lower (modern efficient design) |
| Cooling/Treatment | $1,000 – $3,000 (additional AC requirements) | $500 – $1,000 |
| Patchbay & Cabling | $2,000 – $4,000 (extensive routing needs) | $800 – $1,500 (streamlined I/O) |
| Downtime Impact | High (parts scarcity, specialized techs) | Low (manufacturer support, fast turnaround) |
| Resale Value | Potentially appreciates (classic models) | Rapid depreciation |
| Technician Availability | Limited specialists, $100-150/hour | Wider support network, $75-100/hour |
The Workflow Error That Makes Revisions Impossible on Analog Desks
The single greatest point of failure in a hybrid workflow is the « total recall » problem. In a purely digital environment, saving a session file saves everything—every fader position, every plugin setting, every automation move. You can open a project a year later and it will sound identical. On an analog console, your mix exists as a physical state: the precise position of hundreds of knobs and faders. When the client calls a week later asking to « turn up the hi-hat in the second chorus, » recreating that physical state with 100% accuracy is nearly impossible. This is the workflow error: treating the analog console as a set-and-forget mix environment.
The old-school solution was to fill out paper recall sheets and take Polaroid photos, a tedious and inaccurate process. A modern hybrid studio demands a modern, robust solution. This solution is what we can call the « Hybrid Recall Trinity, » a three-pronged approach that embraces the strengths of both domains. It’s a system designed for a world of endless revisions, ensuring that your analog mix is not a fleeting moment but a recoverable asset. This method requires discipline but makes complex revisions not just possible, but efficient.
This system moves beyond simply documenting settings and instead builds a flexible, layered project. You’re not trying to perfectly recreate the past; you’re creating a robust starting point that contains the core analog character, with all the fine-tuning and revision-prone elements living in the easily-recalled digital domain. Dedicated tools are essential here, with apps like Session Recall designed specifically to manage this complex documentation process. The key is to shift your mindset: the console is for broad strokes and sonic imprinting, while the DAW is for surgical, recallable adjustments. This hybrid approach is the only sustainable path for a modern commercial studio.
Hybrid Recall Trinity: The 3-Step Modern Recall Method
- Step 1 – Photo Recall System: Use a dedicated recall app like Session Recall to capture all knob positions, fader settings, and routing configurations. Take overhead photos of the entire console surface plus close-ups of each channel strip and patch bay.
- Step 2 – Strategic Stem Printing: Commit key instrument groups (not the whole mix) by printing stems back to the DAW. Print drums as a stereo group, bass DI plus amp separately, and lead vocals with console processing. This preserves the analog ‘magic’ while maintaining flexibility.
- Step 3 – DAW Automation for Fine Changes: Use DAW automation for all detailed level adjustments and subtle tweaks, leaving console faders for broad strokes and overall balance. This creates a hybrid recall approach where major moves are documented and minor adjustments remain fluid.
Problem & Solution: Managing Noise Floor When Chaining Analog Gear
In the digital realm, silence is absolute. A track with no signal has a noise floor of negative infinity. In the analog world, every piece of gear—every preamp, every EQ, every cable—has an inherent self-noise. When you chain these components together in a hybrid setup, this noise is cumulative. Each stage adds its own little bit of hiss, hum, and buzz. By the time your signal has passed from the DAW, through a console channel, to an outboard compressor, and back, the noise from each stage has added up, potentially becoming an audible and distracting part of your final mix. The problem is a rising noise floor that can compromise the dynamic range and clarity of your recordings.
The solution is not to hunt for a single « noisy » piece of gear, but to adopt a systemic approach focused on Gain Staging Integrity. Optimal gain staging ensures that at every point in the signal chain, the audio signal is significantly louder than the noise floor of that component. The goal is to pass a healthy, strong signal from one stage to the next, keeping it well above the noise without clipping. This means ensuring your signal leaving the DAW is hot, hitting your analog gear at its optimal level (often around 0VU), and returning to the DAW with a strong level that doesn’t clip the converters. This maximizes the signal-to-noise ratio at every step.
When you do encounter unacceptable noise, troubleshooting must be methodical. You cannot simply guess. It requires a systematic process of elimination to isolate the source of the noise. This could be a single faulty cable, a poorly designed piece of vintage gear, a ground loop issue, or improper gain staging at one point in the chain. The following checklist provides a diagnostic workflow to pinpoint the exact source of noise in a complex hybrid system. This methodical approach, detailed in many troubleshooting guides from sources like Sound On Sound, turns noise hunting from a frustrating guessing game into a solvable engineering problem.
Noise Floor Troubleshooting Checklist
- Test 1: Solo each channel individually with all processing bypassed to establish a baseline noise floor.
- Test 2: Engage hardware inserts one at a time to identify which specific unit introduces the most noise.
- Test 3: Check for 60Hz/50Hz hum indicating ground loop issues—if present, proceed to ground isolation steps.
- Test 4: Verify optimal gain staging—ensure the signal is hitting at least -12dB to -6dB at the start of the chain to maintain a healthy signal-to-noise ratio.
- Test 5: Inspect all cable connections for damaged shielding or loose connectors that could introduce RF interference.
How to Build a Mixing Template That reducing Setup Time by 50%?
In a hybrid studio, setup time is billable time wasted. Every moment spent routing signals, creating tracks, and configuring effects is a moment not spent on creative mixing decisions. The single most powerful tool for reclaiming this time is a well-architected mixing template. A template is not just a pre-loaded session; it’s the codified blueprint of your entire workflow. It should be a comprehensive starting point that pre-configures your DAW and console integration, allowing you to get to work on a new project in minutes, not hours.
A master template should include all your standard track layouts, color-coding, and subgrouping (busses for drums, bass, vocals, etc.). More importantly, it must have all your hybrid routing pre-configured. All your hardware inserts should be set up in the DAW’s I/O matrix, with latency compensation already calibrated and saved. Your favorite console EQs and compressors should be normalled to their corresponding DAW outputs via the patchbay. Your go-to hardware reverbs and delays should be set up on aux sends, ready to go. The goal is to eliminate every repetitive setup task.
The case of engineer Mitch Easter at Fidelitorium Recordings provides an excellent model for this philosophy. Using a simple 1970s console integrated with Pro Tools, his workflow emphasizes modular simplicity. His template isn’t massively complex; rather, it reflects a curated and efficient signal path. By pre-configuring his most-used console preamps and outboard gear, he achieves a state of readiness that accommodates both full analog sessions and hybrid projects with ease. This demonstrates that a template’s value isn’t in its complexity, but in its thoughtful design and how it reflects a refined, efficient workflow.
To build such a template, you must first audit your existing signal flow and decision-making process. This analysis is the foundation of an efficient system. A clear action plan helps to identify where your current process has points of friction or redundancy, allowing you to design a template that truly streamlines your work.
Action Plan: Auditing Your Template’s Signal Logic
- Points of contact: List all the physical and digital channels where audio signals are sent and received in your current setup.
- Collecte: Inventory all existing routing presets, channel strips, and bus configurations you currently use.
- Cohérence: Compare your collected elements against your studio’s core values and intended sound. Does your default drum bus compressor align with your sonic goals?
- Mémorabilité/émotion: Identify which parts of your signal chain are unique and create your signature sound versus which are generic or could be simplified.
- Plan d’intégration: Create a prioritized list of changes to implement in your new template, focusing on replacing inefficient routing and filling gaps in your workflow.
Problem & Solution: Eliminating Ground Loops in a Complex Setup
Of all the sonic gremlins that haunt a hybrid studio, none is more common or maddening than the 60-cycle (or 50-cycle) hum of a ground loop. This persistent, low-frequency buzz is the sound of your studio’s electrical system working against itself. A ground loop occurs when there are multiple paths for electrical current to travel to ground. This difference in ground potential between two or more pieces of interconnected equipment effectively turns your audio cables into giant antennas, perfectly tuned to pick up electromagnetic interference from your building’s AC power.
The more complex your setup—with a console, computer, multiple monitors, racks of outboard gear, and various peripherals plugged into different outlets—the higher the risk of creating these loops. The common, and dangerous, « solution » of using a « cheater plug » or cutting the ground pin on a power cable is never the answer. It may break the loop, but it also defeats a critical safety feature, creating a serious shock hazard.
The correct, professional solution is to architect a grounding scheme that provides only one path to ground for your entire audio system. This is known as the « Star Grounding » method. In this configuration, you designate a single, high-quality power outlet as the central « star point. » A power conditioner is installed at this point, and every single piece of audio-related equipment is plugged directly into it. This ensures all equipment shares the exact same ground reference, eliminating the potential differences that cause hum. For any unbalanced gear that must be connected, isolation transformers or DI boxes are used to break the ground connection on the audio path, not the power path. Implementing a star grounding scheme is not optional; it is a foundational requirement for a noise-free professional recording environment.
Star Grounding Method Implementation Guide
- Step 1: Identify a single, dedicated power outlet as your ‘star point’—ideally on a separate circuit from HVAC and lighting.
- Step 2: Install a high-quality power conditioner at this star point to serve as the central power hub for all audio gear.
- Step 3: Connect all audio equipment power cables to this single conditioner, avoiding daisy-chaining.
- Step 4: Use DI boxes or isolation transformers for any unbalanced gear to break potential ground loops in the audio signal path.
- Step 5: Physically separate non-audio equipment (computers, monitors) onto a different power circuit whenever possible.
Key takeaways
- Analog summing’s depth comes from the predictable non-linearities of physics, not from undefined « magic. »
- Systemic problems like latency and noise demand architectural solutions like precise calibration and rigorous gain staging, not just better gear.
- A robust hybrid workflow survives on disciplined, system-based recall methods and constant end-of-chain translation checking.
Why Your Mixes Translate Poorly Even With Expensive Monitors?
You’ve spent hours crafting a mix on your console. It sounds powerful, wide, and detailed on your expensive main monitors. But when you play it in the car, on a laptop, or through a smartphone, it falls apart. The bass disappears, the vocals get buried, and the wide stereo image collapses into a muddy mess. This is the « translation » problem, and it’s one of the most frustrating aspects of modern mixing. A hybrid studio, with its potential for enhanced width and harmonic complexity, can sometimes exacerbate this issue. The very analog processing that makes the mix sound so impressive in the control room can mask underlying phase and balance problems that become glaringly obvious on less-forgiving consumer systems.
The issue often lies in decision fatigue and a loss of perspective. After hours of listening at high volumes on full-range monitors, your ears become accustomed to the sound, and you lose the ability to judge the mix objectively. You get locked into a « control room reality » that doesn’t exist anywhere else. Your expensive monitors are telling you the truth, but it’s a very specific, high-fidelity truth. They are not representative of the myriad of ways the average person will actually listen to music. Engineers often report a heightened level of detail in reverb tails and increased perception of both depth and width when using analog gear, which can sometimes lead to mix decisions that don’t hold up on smaller systems.
The solution is to force a change in perspective by building a rigorous End-of-Chain Sanity Check routine into your workflow. This involves systematically checking your mix on a variety of « real-world » playback systems before you commit to a final print. The most crucial of these is a single, cheap mono speaker (like an Auratone or a modern equivalent). A mono check is a ruthless truth-teller. Any elements that are out of phase will weaken or disappear. Any clutter in the low-mid frequencies will turn to mud. If your vocal is intelligible and the kick and bass have punch in mono, your mix has a solid core that will likely translate anywhere. This routine, combined with checking the mix at very low volumes, breaks the spell of the main monitors and reconnects your mix decisions with the reality of how music is consumed.
End-of-Chain Sanity Check Routine
- Step 1: Before printing the final mix, route the output to a monitor controller with multiple speaker outputs.
- Step 2: Switch to a single, cheap mono speaker for critical listening.
- Step 3: Listen specifically for phase issues—elements that disappear or change character in mono indicate potential problems.
- Step 4: Check sub-bass clarity—excessive low-end clutter becomes immediately apparent on small speakers.
- Step 5: Verify vocal and lead instrument intelligibility—if they’re buried in the small speaker test, they’ll struggle on consumer systems.
Stop fighting your gear and start designing your system. Begin by mapping your signal path and identifying a single workflow bottleneck to solve this week. The path to a seamless hybrid studio is an architectural process, not a gear purchase.