Achieving cranked amp tone at low volume isn’t about compromise; it’s about scientifically compensating for physical and psychoacoustic realities.
- The Fletcher-Munson curve tricks your ears into hearing less bass and treble at low volumes, making your tone sound thin.
- True saturation and dynamic feel come from the power amp section, which is effectively bypassed when the master volume is too low.
Recommendation: Use a combination of tools like reactive load boxes, speaker swaps, and targeted EQ to recreate the full-volume experience for both your amp and your ears.
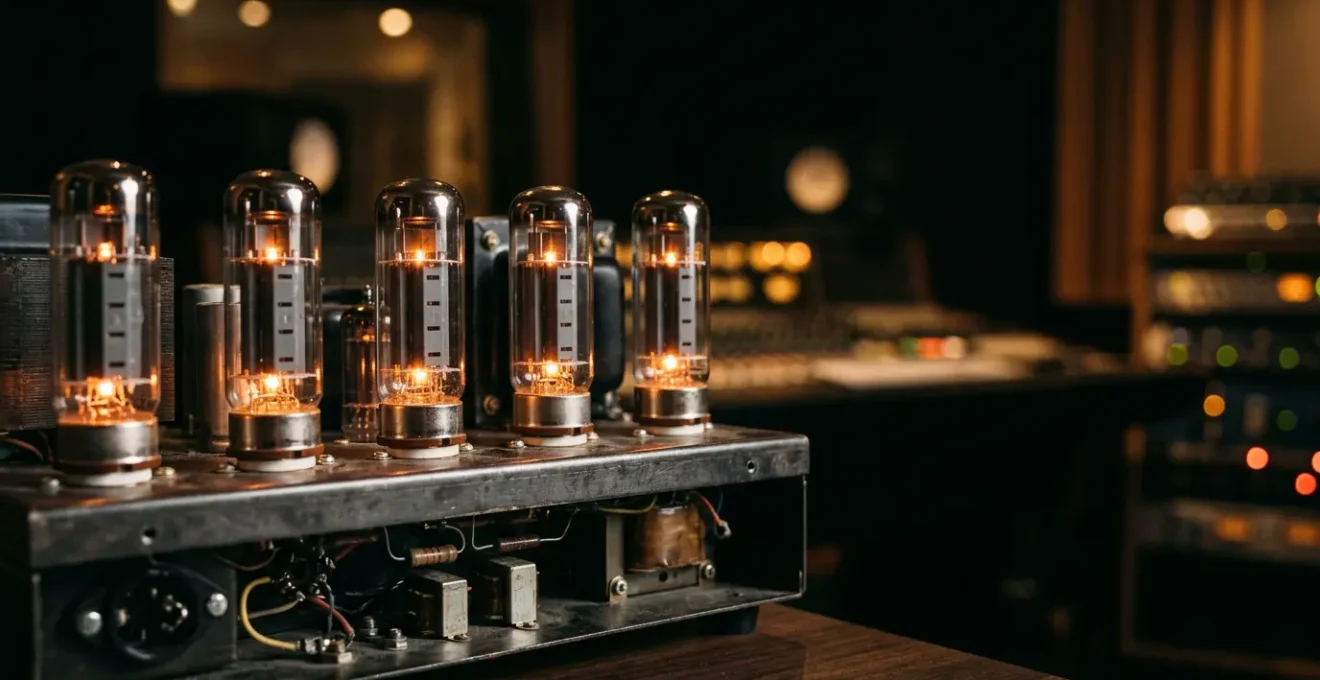
Every guitarist knows the feeling. You own a fire-breathing tube amp, a glorious beast capable of shaking foundations and summoning tonal nirvana. But you live in an apartment, a condo, or a house with paper-thin walls. So you choke it, turning that master volume knob down to ‘1’, and the magic vanishes. The rich, three-dimensional roar you paid for collapses into a thin, fizzy, and lifeless imitation. It’s the ultimate frustration for any serious tone chaser. The common advice is to « buy a smaller amp » or « just use a pedal, » but that ignores the powerful tool you already possess.
The truth is, your amp isn’t broken, and your ears aren’t deceiving you. The problem is a collision of physics and human perception. Getting that glorious, saturated sound at a volume that won’t get you evicted isn’t about simply making things quieter. It’s about understanding *why* your tone falls apart at low volumes and then strategically rebuilding it. It’s an art of compensation, a clever game of trickery played on your amp’s power section and your own psychoacoustic responses. Forget the idea of compromise; this is about reclaiming the soul of your amplifier, no matter what the volume dial says.
This guide will dissect the problem and arm you with a hierarchy of solutions. We will explore why simply turning down the volume is a tone-killer, how to diagnose the health of your amp’s core components, and how to weigh the eternal « real amp vs. modeler » debate. We will also cover critical safety measures, speaker-swapping strategies, and even branch into the challenges of recording and organizing your hard-earned tones. It’s time to make your amp sing at any volume.
Summary: How to Get Saturated Tube Tone at Bedroom Volumes Without Eviction?
- Why Turning Down the Master Volume Kills Your Tone (And How to Fix It)?
- How to Tell When Your Power Tubes Are About to Fail?
- Modeler or Real Amp: Is the Weight of a Tube Amp Still Justified?
- The Speaker Cable Mistake That Blows Up Output Transformers
- Problem & Solution: Changing Speakers to Tame High-End Harshness
- Problem & Solution: Trusting Low-End Decisions When Mixing on Headphones
- The Inspection Mistake That Costs $500 When Buying Used Microphones
- How to Organize a 50-Track Session Without Losing Your Creative Mind?
Why Turning Down the Master Volume Kills Your Tone (And How to Fix It)?
You turn your master volume down, and your tone turns to mud. It’s not your imagination; it’s a two-front war being waged against your sound. The first enemy is your amp’s design. The « gain » or « preamp » knob creates distortion, but the magic—the compression, the sag, the three-dimensional roar—comes from the power amp tubes being pushed to their saturation point. When your master volume is barely cracked, the power section is snoozing. You’re only hearing the preamp, which is just one part of the tonal ecosystem.
The second, more insidious enemy is your own hearing. Our ears are not linear. According to the Fletcher-Munson curve, as volume decreases, our perceived sensitivity to low and high frequencies drops dramatically. This is a scientific fact; research on equal-loudness contours reveals that at low levels, bass and treble frequencies must be significantly louder in absolute terms to sound balanced with the midrange. So, even if your amp’s output were perfectly linear (which it isn’t), your brain would still interpret the low-volume tone as thin, scooped, and missing its thump and sparkle. You’re not just losing power-tube saturation; you’re losing the psychoacoustic experience of loudness.
Fixing this requires compensating on both fronts: pushing the power amp harder while convincing your ears the sound is « big. » Here is a hierarchy of solutions, from free to a full-on tonal overhaul:
- Free Technique: Turn your guitar’s volume knob back to 7-8 to clean up the signal hitting the preamp. Then, increase the amp’s master volume to a higher setting (e.g., 3-4 instead of 1). This engages the power tubes more naturally, and you control the final volume and grit from your guitar.
- Affordable Pedal Solution ($50-150): Use a clean boost or a transparent overdrive pedal in front of the amp. This pushes the preamp tubes harder, creating more harmonics and perceived loudness, which can help compensate for a lower master volume setting.
- Mid-Range Option ($200-400): Place an EQ pedal in your amp’s effects loop. At bedroom levels, apply a « smile » curve: boost the bass (around 80-120Hz) and treble (around 5-8kHz) by 3-6dB. This is a direct counter-attack against the Fletcher-Munson effect, restoring the perceived fullness of the tone.
- Premium Solution ($400-800): A reactive load box with cabinet simulation. This is the holy grail. It replaces your speaker, allowing you to crank your amp to its sweet spot. The load box absorbs the full power and provides a line-level signal for headphones or recording, often with Impulse Response (IR) technology to simulate a miked cabinet.
How to Tell When Your Power Tubes Are About to Fail?
Your power tubes are the heart and soul of your amp’s dynamic feel and voice. They are consumable parts, like tires on a car, and when they start to fail, they take your tone with them. A dying tube doesn’t always just stop working; more often, it degrades slowly, strangling your sound in subtle ways. Being a true tone chaser means learning to read the signs and performing preventative maintenance before a catastrophic failure on stage or in the studio.
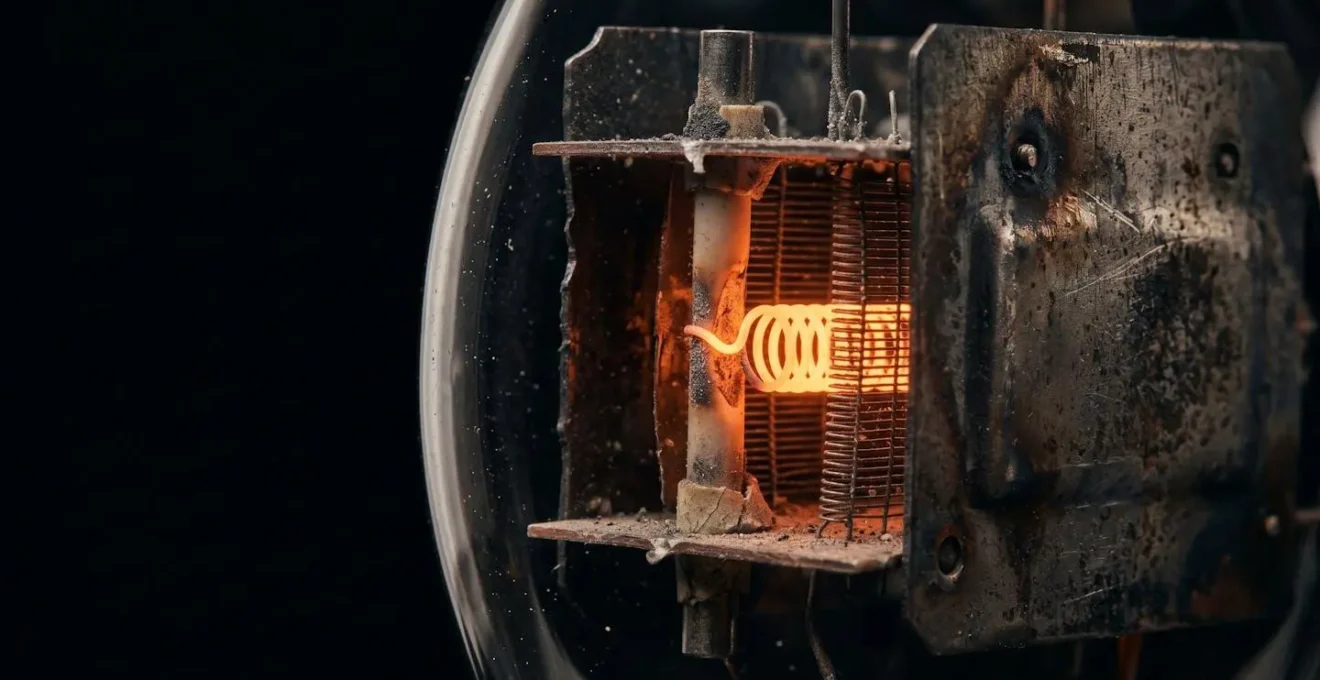
The most dramatic and dangerous sign is « red-plating. » This is when the metal plate inside the tube glows a bright cherry red, indicating a runaway electrical current. If you see this, shut the amp off immediately to prevent damage to your output transformer. However, most symptoms are auditory. A tube becoming microphonic will ring or squeal at certain frequencies, especially when you tap on it. More commonly, you’ll notice a loss of performance: the low-end becomes flabby and indistinct, the amp loses headroom and breaks up too early, or a persistent fizz and hum creeps into your signal. These are signs that the tube is losing its ability to efficiently amplify the signal.
A visual inspection can also reveal a tube’s age. The « getter, » a silver or chrome patch usually at the top of the tube, absorbs impurities. As the tube ages, this patch will shrink or turn milky white, signaling that it’s nearing the end of its service life. Monitoring your bias current is another pro-level check; a drift of more than 10% from the optimal setting suggests the tubes are becoming unstable. Performing regular checks will not only save you from costly repairs but will ensure your amp is always operating at its peak tonal potential.
Practical Power Tube Diagnostic Checklist:
- Pencil Tap Test: With the amp on, gently tap each power tube with a pencil’s eraser end. A healthy tube will make a dull thud. A microphonic tube will produce an audible ringing, howling, or ghost notes through the speaker.
- Visual Red-Plating Check: In a dim room, power on the amp and watch the power tubes as they warm up. If you see the internal metal plates (the « anodes ») glowing red or orange, shut the amp down immediately. This is a sign of a critical failure.
- Low-End Punch Test: Play a palm-muted low E string, hitting it progressively harder. Failing power tubes lose bass response first, producing a thin, fizzy breakup instead of a thick, satisfying compression.
- Getter Flash Inspection: Examine the silver mirror-like coating inside the top of the tube glass. If this « getter » has turned white or has disappeared, the vacuum inside has been compromised, or the tube has had a very long service life and should be replaced.
Modeler or Real Amp: Is the Weight of a Tube Amp Still Justified?
The digital modeling world has made terrifying leaps in quality. For the bedroom guitarist, the allure is undeniable: hundreds of amps, perfect volume control, and direct recording, all in a lightweight package. This begs the question: in an era of hyper-realistic modelers and impulse responses, is lugging around a heavy tube amp and cabinet still worth it? The answer isn’t about which is « better, » but about what you value most in your tonal ecosystem.
A digital modeler excels at consistency and control. It delivers the same studio-quality sound every time, directly to your DAW, without worrying about mic placement or room acoustics. It is the undisputed champion of low-volume practice and recording. However, what many modelers still struggle to replicate is the « amp-in-the-room » feel. This is the physical interaction between the power amp, the output transformer, and a speaker cone moving air. It’s the slight compression you feel in your chest, the way the sound interacts with the room, and the organic feedback that happens when you stand in front of a cabinet. For many players, this dynamic feel is a non-negotiable part of the playing experience.
This is where hybrid approaches enter the ring. Combining a real low-wattage tube amp with a reactive load box and IR loader offers a compelling « best of both worlds » scenario. You get the authentic feel and response of a real power amp pushing its tubes, but with the silent recording convenience and cabinet flexibility of the digital world. The choice ultimately comes down to workflow and priorities. Do you prioritize ultimate portability and endless options, or the immediate, physical connection of a real amp? As the following table illustrates, each path has distinct trade-offs.
This comparative analysis highlights the trade-offs between traditional, digital, and hybrid setups for the modern guitarist.
| Criterion | Real Tube Amp (Low-Wattage) | Digital Modeler | Hybrid Approach |
|---|---|---|---|
| Amp-in-Room Feel | Authentic physical speaker compression and air movement | Requires FRFR speaker; lacks physical speaker interaction | Best of both: real power amp feel + digital flexibility |
| Immediacy vs Options | Instant playability, limited to amp’s voice | Endless tweaking potential; risk of option paralysis | Quick recall presets + hands-on tube control |
| Volume Control | Requires attenuator or low-wattage design (0.5-15W) | Perfect volume control at any level | Load box provides silent recording + any monitor level |
| Recording Quality | Requires mic placement skills; room acoustics matter | Consistent direct-to-DAW studio quality | Cabinet IRs bypass mic technique entirely |
| Weight & Portability | 15-30 lbs typical; still requires cabinet | 2-5 lbs; ultra-portable | Load box adds 5-10 lbs but eliminates cabinet need |
| Maintenance | Tube replacement every 1-3 years ($50-150) | Firmware updates only; no wear parts | Tube replacement but less frequent (lower stress) |
The Speaker Cable Mistake That Blows Up Output Transformers
There are mistakes that kill your tone, and then there are mistakes that kill your amp. Confusing a speaker cable with an instrument cable is one of the deadliest. It’s a simple error that can lead to a catastrophic failure of your amp’s most expensive component: the output transformer. To a tube amp, running without a speaker connected is like a car engine running without oil. It creates an infinite impedance load, causing a massive voltage spike that can melt the delicate windings of the transformer, resulting in a very expensive paperweight.
An instrument cable, designed to carry a tiny, high-impedance signal from your guitar, uses a thin center conductor surrounded by a shield to block noise. A speaker cable is the opposite: it’s unshielded and uses two thick conductors (typically 16AWG or lower) to carry a high-power, low-impedance signal from the amp to the speaker. Using an instrument cable to connect your amp to a cabinet is like trying to put out a fire with a garden hose. The thin wire can’t handle the current, heats up, and can melt, creating an open circuit—the exact « no load » scenario that destroys your transformer.
Equally critical is the impedance match. Your amp’s output transformer is designed to see a specific load, measured in ohms (Ω). Connecting an 8Ω amp output to a 16Ω cabinet (a mismatch) forces the transformer to work harder and can cause long-term damage or tube failure. Always ensure the impedance selected on your amp (e.g., 4, 8, or 16 ohms) exactly matches the impedance of your speaker cabinet or attenuator. Before you ever flip that standby switch, a physical check of your connections is not just good practice; it’s essential insurance for your gear.
Your Pre-Power On Safety Checklist
- Verify Impedance Match: Confirm the amp’s output selector (4Ω, 8Ω, or 16Ω) exactly matches the input impedance rating on your speaker cabinet or attenuator. No exceptions.
- Cable Type Verification: Ensure you are using a dedicated, unshielded speaker cable with two conductors. Never use a shielded guitar/instrument cable for this connection.
- Physical Trace Path: With the amp off, physically trace the speaker cable from the amp’s output jack to the speaker or attenuator’s input jack, checking for secure connections at both ends.
- Attenuator Load Confirmation: If using an attenuator or load box, double-check that the device is set to « LOAD » mode, not « bypass, » to ensure the amp sees a proper load.
- Standby Procedure: Always power the amp to « Standby » mode first. Wait 30-60 seconds for the tubes to warm up, perform a final visual scan of all connections, and only then switch to « Play » or « On » mode.
Problem & Solution: Changing Speakers to Tame High-End Harshness
Sometimes, the « ice pick » harshness you hear isn’t coming from your amp’s settings but from the final voice in your signal chain: the speaker. This is especially true at bedroom volumes, where certain speakers known for their aggressive cut in a live band mix (like the ubiquitous Celestion Vintage 30) can sound brittle and overly bright. Instead of fighting it with EQ, you can perform « tonal surgery » by swapping the speaker itself. One of the most overlooked specifications for this purpose is speaker sensitivity.
Sensitivity, measured in decibels (dB), indicates how efficiently a speaker converts power into sound pressure level (SPL). A speaker with a 100 dB rating is significantly louder than one with a 97 dB rating given the same power input. In fact, a 3 dB drop in sensitivity is equivalent to halving your amplifier’s power! As speaker efficiency studies demonstrate that a lower wattage amp can be as loud as a much more powerful one simply by using a more efficient speaker. For bedroom players, this works in reverse: choosing a *less* sensitive speaker is a form of built-in attenuation. It forces you to turn your amp’s master volume up higher to achieve the same listening level, pushing your power tubes harder and bringing them closer to their sweet spot.
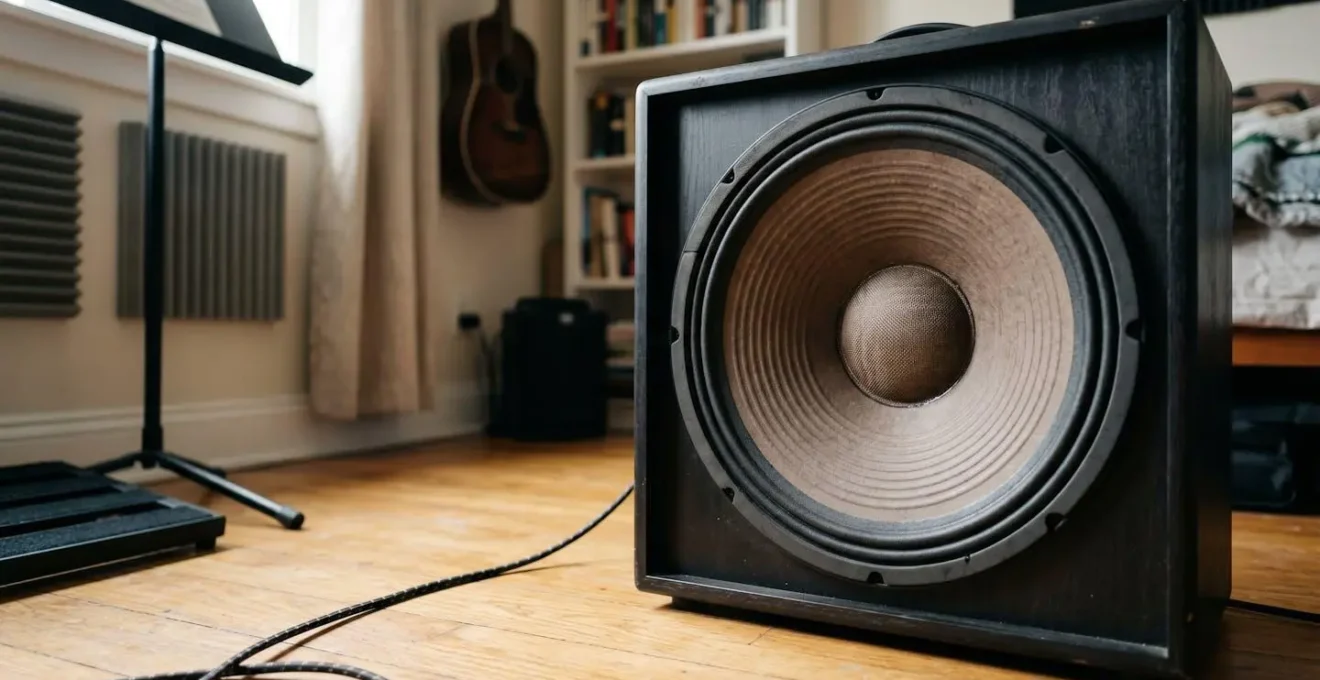
Beyond volume, different speakers have vastly different voicings. A Celestion Creamback or Greenback is famous for its smoother midrange and rolled-off highs compared to a Vintage 30. An Eminence Cannabis Rex, with its hemp cone, is known for its warm, smoky character that naturally tames fizz. Swapping a 100 dB, bright-sounding speaker for a 97 dB, warmer-voiced model can dramatically transform your amp’s character at low volumes, making it sound fuller, richer, and far less harsh, all while letting you push those precious power tubes a little bit more.
This comparison of popular guitar speakers from Celestion shows how sensitivity ratings directly impact volume and tonal character.
| Speaker Model | Sensitivity Rating | Volume Impact vs V30 | Tonal Character |
|---|---|---|---|
| Celestion Vintage 30 | 100 dB | Baseline (loudest) | Aggressive upper-mid spike; high treble presence |
| Celestion Creamback G12M-65 | 97 dB | Requires 2x amp power for same SPL | Smoother mids; reduced high-end harshness |
| Celestion Greenback G12M | 98 dB | Slightly quieter; pushes tubes harder | Vintage voicing; warm breakup; controlled highs |
| Eminence Cannabis Rex | 102 dB | Louder than a V30 | Hemp cone; smooth upper-mids; natural compression |
| Jensen P12R | 95 dB | Requires nearly 3x power vs V30 | American clean voicing; scooped mids; chimey highs |
Problem & Solution: Trusting Low-End Decisions When Mixing on Headphones
You’ve done it. You used a reactive load box to capture the perfect, roaring tone from your tube amp silently. Now you’re in your DAW, headphones on, ready to mix. But a new problem emerges: how do you trust your low-end decisions? Mixing bass and the low-mids of heavy guitars on headphones is notoriously difficult. Without the physical feeling of air moving and the natural acoustics of a room, it’s easy to create a mix that sounds powerful in your ears but either disappears or turns into a muddy mess on real-world speaker systems.
The core issues are the same ones we face when playing at low volume: psychoacoustic effects and a lack of physical feedback. The exaggerated stereo separation in headphones can make bass frequencies seem wider and more impressive than they are, leading to phase issues when the mix is collapsed to mono. Furthermore, listening at different volumes will drastically change your perception of the low end due to the Fletcher-Munson curve. What sounds balanced at a high volume can sound weak and thin when you turn it down.
The solution is not to abandon headphones, but to build a system of cross-referencing that bypasses their inherent limitations. This means not trusting a single listening source. You need to use tools and techniques to simulate a real-world listening environment and « torture test » your mix on a variety of systems. Using a spectrum analyzer to visually compare your low-end energy against commercial reference tracks is a crucial, objective check. This removes the guesswork and gives you a data-driven target to aim for, ensuring your powerful guitar tones translate from your headphones to the world.
Multi-Point Bass Referencing System for Headphone Mixing:
- Reference Track Selection: Choose three professionally mixed tracks in a similar genre. One should be a modern, bass-heavy mix, one a balanced classic rock mix, and one a sparser arrangement to check clarity.
- Crossfeed Plugin Implementation: Use a plugin that simulates speaker « bleed » (the sound from the left speaker reaching your right ear, and vice versa). This reduces the unnatural stereo width of headphones and leads to better mono compatibility.
- Critical Mono Check: Regularly collapse your entire mix to mono. If the bass guitar or the body of the rhythm guitars disappears or becomes significantly weaker, you have phase issues that need to be corrected with EQ or timing adjustments.
- The Phone Speaker Torture Test: Export a rough mix and listen to it on your smartphone’s speaker. This is a brutal but effective test. If the core elements of your mix (like vocals and lead guitar) are still intelligible, your midrange balance is likely in a good place.
- SPL-Calibrated Listening: Use a decibel meter app to calibrate your headphone listening volume to a consistent level (around 75-85 dB SPL). This minimizes the perceptual shifts caused by the Fletcher-Munson curve and leads to more consistent decisions.
The Inspection Mistake That Costs $500 When Buying Used Microphones
As you build your bedroom studio to capture your killer tube amp tones, you’ll inevitably scour the used market for gear. A high-quality microphone is a long-term investment, but buying used can be a minefield. The single biggest mistake buyers make is a purely cosmetic inspection. A microphone that looks pristine on the outside can hide catastrophic, tone-killing damage on the inside. A « studio use only » claim means nothing; it’s the internal health that dictates value.
For condenser microphones, the most critical and fragile component is the capsule. A diaphragm that has been exposed to high SPL, moisture, or a physical shock can lose its tension, resulting in a dull, lifeless sound with no high-frequency detail. A simple plosive test (a sharp « puh » sound from a foot away) can reveal this; a healthy capsule will have a clean « thump » with a sizzly high-end decay, while a damaged one will produce a flat, dead thud. For ribbon mics, the enemy is « ribbon sag. » Simply removing the grille and inspecting the delicate ribbon element with a flashlight can tell you everything. If it’s not perfectly taut and centered, it has been stretched, and the mic has permanently lost its low-end response and sensitivity.
Beyond the elements, look for signs of a hard life. Check the XLR pins for any green-tinted corrosion, a dead giveaway of humidity exposure. Shine a light into the grille mesh and look for a yellow-brown film, the tell-tale sign of nicotine residue from a smoky environment, which is death to a sensitive condenser capsule. Finally, a simple weight check can be a powerful tool against counterfeits. Popular microphones have a known weight, and fakes, using cheaper components and magnets, are almost always significantly lighter. Performing this forensic-level inspection can be the difference between scoring a vintage gem and buying a $500 paperweight.
Forensic Inspection Guide for a Used Microphone:
- Condenser Capsule Plosive Test: From about 12 inches away, make a sharp « puh » sound into the mic. A healthy capsule should produce a clean, deep thump followed by a clear, sizzling high-frequency decay. A collapsed or damaged capsule will yield a dull, flat thud with no life.
- Ribbon Sag Visual Inspection: Carefully remove the grille. Hold the microphone at eye level and use a flashlight to inspect the ribbon element. It should be perfectly straight and centered. Any visible droop, twist, or asymmetry means it’s stretched and has lost its intended performance.
- Provenance Red Flags: Inspect the grille mesh under magnification for a yellow-brown nicotine film. Check the XLR pins for any signs of green corrosion from humidity. These are signs of a harsh operating environment.
- Counterfeit Quick-Check: If possible, weigh the microphone on a postal scale and compare it to the manufacturer’s official specifications. A genuine Shure SM57 weighs 284g, while a Neumann U87 Ai weighs 500g. Counterfeits are typically 10-20% lighter due to inferior transformers and magnets.
Key Takeaways
- True tube amp saturation comes from the power amp, which requires volume or a reactive load to engage properly.
- Our ears perceive low volume as lacking bass and treble (Fletcher-Munson curve); compensate with targeted EQ in the effects loop.
- Lower sensitivity speakers act as a natural attenuator, allowing you to turn your amp up more to achieve the same volume level.
How to Organize a 50-Track Session Without Losing Your Creative Mind?
The modern approach to recording heavy guitars often involves layering. You have your main rhythm tracks panned left and right, maybe a second pair with a different tone, lead overdubs, ambient textures, and clean passages. Before you know it, your « simple » song has ballooned into a 50-track monster. Staring at a sea of individual faders is a surefire way to kill creativity and get lost in the weeds. The key to managing this complexity and maintaining a productive workflow is to think like a professional mixing engineer from the very beginning: top-down organization.
This means abandoning the idea of mixing 50 individual tracks. Instead, you create a hierarchical structure using busses (or groups). All your drum tracks get routed to a « Drum Bus. » All your bass tracks go to a « Bass Bus. » All rhythm guitars go to a « GTR Bus, » and all lead and melodic parts go to a « LEAD Bus. » This immediately simplifies your session. Instead of 50 faders, you are now making macro-level creative decisions on 5 or 6 main group faders. Want the guitars to be a bit quieter in the verse? You move one fader, not eight.
This approach is enhanced by a strict color-coding and routing template. When you can see at a glance that all green tracks are guitars and all blue tracks are bass, your brain processes information faster, keeping you in a creative headspace rather than a technical one. This structured workflow is not about limiting creativity; it’s about channeling it effectively. It prevents option paralysis and allows you to build massive, powerful arrangements without the session collapsing under its own weight.
Case Study: Top-Down Mixing Philosophy in Dense Sessions
Professional mixing engineers handling dense arrangements (40+ tracks) consistently implement a hierarchical bus architecture from the start of a session. They create master busses for key instrument groups: Drums, Bass, Guitars, Keys, and Vocals. This structure enables them to make broad, creative decisions at a macro level (e.g., « reduce all guitars by 2dB ») while still having the ability to dive into micro-level edits on individual tracks. A consistent color-coding scheme is used across all sessions—for example, drums are red, bass is blue, guitars are green, and vocals are orange. Session templates often come pre-loaded with this routing and basic processing (like subtractive EQ and gentle compression) on each bus, which preserves cognitive energy for musical decisions rather than repetitive technical setup.
By understanding the science and applying these strategies, you can finally unleash the true voice of your amplifier. The next logical step is to start experimenting with these techniques and find the combination that works best for your specific gear and environment.