In summary:
- Stop trying to fix frequency clashes with EQ; solve them in the arrangement phase by giving each instrument a clear sonic job.
- Create clarity by reducing arrangement density, deciding which instrument should be silent to make another stand out.
- Use dynamics as your most powerful tool. A constantly loud mix creates fatigue, while quiet moments make loud sections feel bigger.
- Focus on the foundational relationship between the kick drum and bass guitar using phase alignment for a tight, powerful low end.
- Understand that an instrument’s character lives in its midrange frequencies, not just its fundamental tones.
Your band finishes a song in rehearsal and it feels powerful. But when you listen to the recording, it’s a confusing « wall of sound » where everything fights for attention. The two guitars, once distinct, have merged into an undefined roar. The bass is gone. The vocals are buried. The common advice is to start carving things up with EQ or panning the guitars hard left and right. But these are mixing fixes for an arrangement problem.
This approach is like trying to fit two couches into a room that can only hold one. No amount of shuffling will work; one has to be removed, or you need a different room. The real solution lies in proactive orchestration, not reactive mixing. It’s about thinking like an arranger and a producer from the moment you write the parts. The secret isn’t about separating sounds after they’ve been recorded; it’s about composing them so they naturally occupy their own space from the start.
But what if the key wasn’t forcing frequencies apart, but rather assigning each instrument a distinct sonic job and a specific space to do it in? This guide will deconstruct common arrangement mistakes and provide a framework for building sonically clear, powerful, and professional-sounding tracks. We will explore how to manage arrangement density, leverage dynamics, and build a solid tonal architecture that serves the song, not the ego.
This article breaks down the core principles of musical arrangement that allow every instrument to be heard clearly. Follow this guide to transform your band’s sound from a muddy battle into a cohesive, impactful force.
Summary: A Mix Engineer’s Guide to Musical Arrangement
- Why Your Bass Player Is Disappearing When the Keyboardist Plays?
- How to Decide Who Stops Playing During the Verses?
- Unison or Harmony: Which Vocal Arrangement Creates More Power?
- The « Full Volume » Error That Exhausts Your Audience’s Ears
- Problem & Solution: Locking the Kick Drum with the Bass Guitar
- The « Scooped Mids » Mistake That Makes the Bass Disappear
- How to Choose the Right Pickups to Balance Output and Clarity?
- How to Organize a 50-Track Session Without Losing Your Creative Mind?
Why Your Bass Player Is Disappearing When the Keyboardist Plays?
One of the most common disappearing acts in music is the bass guitar vanishing the moment a keyboardist lays down a synth pad. You might think their notes are octaves apart, but the problem lies in the harmonics and overtones. A rich, sustained keyboard pad can occupy a massive portion of the frequency spectrum, creating a dense sonic floor that completely masks the bass. According to an analysis of frequency masking in mix contexts, these phase-related conflicts occur even when fundamental notes are far apart.
The solution is not to simply turn the bass up. It’s an arrangement decision. Assign each instrument a distinct sonic job. If the keyboard’s job is to provide a sustained harmonic bed, then the bass player’s job might be to deliver punchy, rhythmic, and melodic runs in the spaces the keyboard leaves. Conversely, if the bass is holding down a simple, sustained root note, the keyboard can be more rhythmically active. Thinking about the instrument’s envelope (its Attack, Decay, Sustain, and Release or ADSR) is critical. For instance, shortening the release time of a synth pad prevents it from bleeding over and masking the subsequent bass note’s attack.
Here are some specific ADSR adjustments to consider for better keyboard-bass separation:
- Adjust Keyboard Attack: A slightly slower attack on a pad can create a small pocket of silence for the bass guitar’s initial transient to cut through.
- Shorten Pad Release Time: A long release creates a continuous « sonic floor » that masks the bass. A shorter release creates rhythmic space.
- Use Sidechain Compression: A more mix-focused but powerful tool. Route the bass to a compressor on the keyboard track, so the pad ducks in volume slightly whenever the bass plays.
Ultimately, this isn’t a battle for volume; it’s a negotiation for space. By defining each instrument’s role in the arrangement, you can ensure both the keyboardist and bassist are heard without fighting for the same sonic real estate.
How to Decide Who Stops Playing During the Verses?
The « wall of sound » is often built from a simple mistake: everyone plays all the time. A dense arrangement might feel powerful in the chorus, but carrying that same energy through the verses leaves no room for dynamics or emotional build-up. The key to a compelling arrangement is managing its arrangement density—consciously choosing which instruments are active at any given moment. The verse is the perfect place to create contrast by subtraction.
Instead of asking « What can I add? », ask « What can I take away? ». If two electric guitars are playing similar chord voicings, have one drop out entirely for the first half of the verse. When it re-enters, its impact will be significantly greater. This creates a natural sense of progression and keeps the listener engaged. Think of your song’s structure as a story. The verse sets the scene, and it doesn’t need every character speaking at once. A sparse verse makes a dense chorus feel monumental.
Many frequency collisions occur simply because of an unbalanced musical arrangement. There’s a reason why most rock and pop ensembles employ the same elements: lead vocalist, rhythm guitar, lead guitar, drums, and bass.
– Mastering The Mix, 7 Ways to Fix (Or Even Prevent) Frequency Collisions
To decide who stops, consider each instrument’s sonic job. If one guitar provides a low-mid rhythmic chug and the other a high-mid arpeggio, which one better serves the lyrical emotion of the verse? Perhaps the arpeggio alone creates a feeling of vulnerability that is perfect for the story. The chugging rhythm guitar can then enter on the pre-chorus to build tension. This isn’t about one part being « better » than the other; it’s about deploying them strategically to serve the song’s emotional arc.
This intentional use of silence is one of the most professional arrangement techniques you can adopt. It’s what separates a dense, amateur recording from a clean, powerful, and emotionally resonant professional track.
Unison or Harmony: Which Vocal Arrangement Creates More Power?
When it comes to vocal arrangements, « power » can mean two very different things: focus or width. The choice between unison and harmony is a critical arrangement decision that dramatically affects the emotional delivery of a song. It’s not about which is « better, » but which best serves the lyrical moment. Understanding their distinct psychoacoustic effects is key to using them effectively.
Unison vocals—two or more voices singing the exact same melody and rhythm—create a sense of weight, focus, and intensity. The slight, natural variations in timing and pitch between the takes (even when performed by the same singer) create a subtle chorusing effect that adds thickness and presence without cluttering the mix. This is perfect for a driving, declarative chorus or a verse that needs to feel direct and assertive. The power of unison is in its unity and punch.
Harmony vocals, on the other hand, create width, emotion, and texture. By adding notes above or below the lead melody (typically thirds, fifths, or sixths), you add harmonic complexity that can evoke feelings of joy, sadness, or tension. Harmonies open up the stereo field and give the vocal a sense of scale and grandeur. They are the tool you reach for when you want a chorus to « blossom » or a bridge to feel transcendent. The power of harmony is in its emotional richness and sonic breadth.
A truly dynamic vocal arrangement often uses both. A verse might start with a single lead vocal, add a unison double in the second half to build intensity, and then explode into a three-part harmony for the chorus. This is arrangement as storytelling, using vocal texture to guide the listener’s emotional journey.
The « Full Volume » Error That Exhausts Your Audience’s Ears
In the pursuit of « loud, » many bands and producers fall into the trap of constant maximum volume. Every instrument is pushed to the limit, and the entire mix is heavily compressed to be as loud as possible. This phenomenon, known as the « Loudness War, » creates listener fatigue and ironically makes a track feel less powerful. Power in music comes from contrast, not from relentless volume. Without quiet moments, the loud moments have no impact.
This practice has been quantified, where research on the psychoacoustic effects of compression shows that since 1980, music RMS levels have increased by up to 20dB, crushing the dynamic range of many commercial releases to a mere 2-3 dB. This lack of dynamic range is mentally exhausting for the listener because the brain is never given a moment of rest. A mix with healthy dynamics, however, breathes. It pulls the listener in during quiet passages and hits them with full force when the chorus erupts.

Think about dynamics at the arrangement stage. Does the entire band need to be playing at full tilt during the bridge? Perhaps stripping it back to just vocals and a sparse guitar part will make the final chorus feel colossal when the drums and bass crash back in. This is the essence of building a powerful tonal architecture; it’s about creating tension and release through changes in volume and density, not just through notes and chords.
When there is no quiet, there can be no loud.
– Matt Mayfield (Audio Engineer)
Preserving dynamic range is not about making your music quiet; it’s about making it impactful. Let your music breathe, and your audience will stay engaged from the first note to the last.
Problem & Solution: Locking the Kick Drum with the Bass Guitar
The foundation of a powerful mix is a rock-solid low end. This is achieved when the kick drum and the bass guitar work together as a single, cohesive unit. When they don’t, the result is either a « flabby, » undefined bottom end or a thin sound that lacks weight. The most common culprit is a phase cancellation issue. Because both instruments occupy similar low-frequency territory (roughly 40-100Hz), their sound waves can interfere with each other, canceling each other out and robbing your track of its punch.
Locking them together is a two-part process involving both phase and timing. The first and simplest check is polarity. If the speaker cone of the kick drum is moving forward while the bass string is causing its speaker to move backward at the same moment, they are out of phase and will fight each other acoustically. Simply inverting the polarity of one of the tracks can sometimes solve the problem instantly, making the low end feel twice as full.
If polarity inversion doesn’t fix it, the issue might be in micro-timing. This is where you start thinking about rhythmic counterpoint on a millisecond scale. Does the bass note hit at the exact same time as the kick, or slightly before or after? A slight nudge of the bass track (1-10ms) can align the waveforms perfectly, creating a tight, unified punch. This process, outlined by expert engineers, is a cornerstone of modern production.
Action Plan: Locking Kick and Bass
- Check Polarity First: Solo the kick and bass. Listen for a hollow sound. If they are fighting acoustically, they may be out of phase.
- Use the Phase Invert Button: On your console or in your DAW, reverse the polarity of the bass track. It’s usually easier than the kick, which has phase relationships with other drum mics.
- Listen for Immediate Improvement: If the low end suddenly becomes fuller and more solid, you’ve found the problem. This is what engineers call « sonic glue. »
- Fine-Tune with Timing: If polarity isn’t the whole story, use a phase rotation plugin or manually nudge the bass track by 1-5 milliseconds to find the sweet spot where the transients align perfectly.
- Monitor in Context: Always make your final phase and timing decisions while listening to the full mix, not just the soloed tracks. What works in isolation may not work with other instruments.
By treating the kick and bass as a single rhythmic engine and ensuring their phase relationship is constructive, not destructive, you build the powerful foundation on which the rest of your arrangement can sit.
The ‘Scooped Mids’ Mistake That Makes the Bass Disappear
Many musicians, especially in rock and metal, are taught to crave the « smiley face » EQ curve: boosted lows for weight, boosted highs for clarity, and a deep cut in the midrange. While this can sound powerful in isolation, it is one of the fastest ways to make a bass guitar disappear in a dense mix. The fundamental frequency of a bass note (the low E is around 41Hz) is often too low for laptop speakers, earbuds, or even some car stereos to reproduce effectively.
So, how does our brain « hear » the bass on these systems? Through its midrange harmonics and overtones. The growl, the finger noise, the pick attack—these are the elements that live in the 400Hz to 1.5kHz range. When you scoop out this entire region, you are removing the very frequencies that give the bass its character and allow it to be audible on a wide range of playback systems.

As audio professionals often point out, the identity of the bass is not where you think it is.
The fundamental frequency of a bass is often below what laptops and phone speakers can reproduce. The mids (400Hz-1.5kHz) are where the overtones, finger noise, and pick attack that our brains interpret as bass are located.
– Best Bass Gear Editorial, The Smiley-Face EQ Curve Article
This is a crucial lesson in building a proper tonal architecture. Instead of a wide scoop, use a more surgical EQ. Find the specific « muddy » frequency in the low-mids (often around 200-350Hz) and apply a narrow cut. Then, find the frequency that defines the bass’s character—perhaps 800Hz for a growly fingerstyle or 1.2kHz for an aggressive pick attack—and give it a slight boost. This allows the bass to cut through the mix without fighting the kick drum for low-end space or the guitars for high-end sizzle.
Embrace the midrange. It’s where the life and definition of your instruments reside, and it’s the key to a mix that translates across all speaker systems.
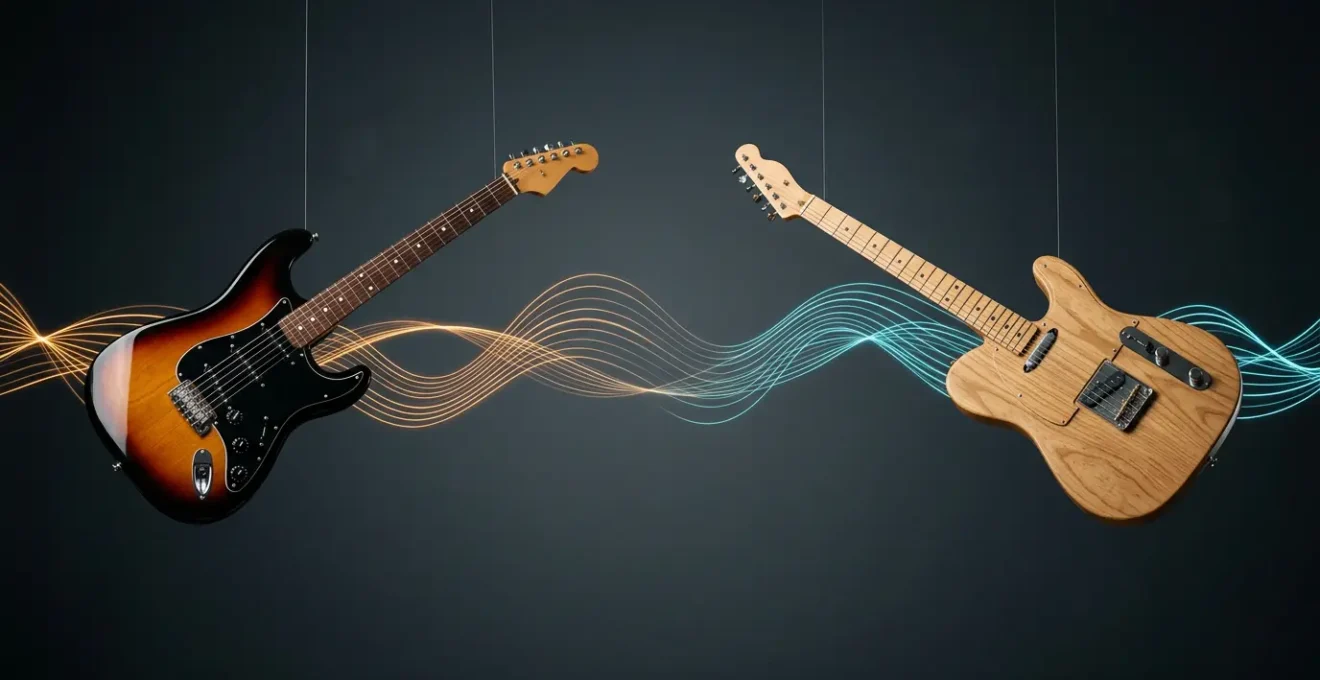
How to Choose the Right Pickups to Balance Output and Clarity?
The process of arrangement begins before you even play a note; it begins with your gear. For guitarists, pickup selection is a fundamental arrangement choice that defines an instrument’s sonic job from the outset. The common assumption is that higher output pickups are « better » because they are louder and drive an amp harder. However, in a two-guitar band, this can be the source of your frequency battles. Balancing output and clarity is essential for creating a cohesive tonal architecture.
High-output pickups (often ceramic or overwound Alnico magnets) naturally produce a more compressed signal with a pronounced midrange. They are great for solos and heavy, saturated rhythm parts because they push the amp into distortion easily and have a powerful, thick character. However, if both guitarists use high-output pickups, their signals will aggressively compete for the same midrange frequencies, resulting in mud.
Low-output or « vintage-style » pickups (typically Alnico II or V magnets with fewer windings) produce a more open, dynamic, and clear signal. They have more top-end sparkle and less midrange push. This makes them ideal for clean tones, intricate chord voicings, and rhythmic parts that need to stay out of the way of the bass and vocals. They preserve the transient attack of the pick, adding a percussive quality to the sound. Assigning a guitarist the sonic job of « clarity and rhythm » with low-output pickups can instantly create space for the other guitarist to handle the « power and sustain » with higher-output models.
By strategically pairing different pickup types, you are pre-EQing your sound at the source. One guitar can own the percussive, articulate high-mids (e.g., a Telecaster with vintage pickups) while the other owns the thick, sustaining low-mids (e.g., a Les Paul with modern pickups). This is frequency slotting at its most fundamental level.
Key Takeaways
- Arrangement First: The clarity of your final mix is 90% determined by the quality of your arrangement. Solve frequency conflicts by composing parts that fit together, not by fighting them with EQ.
- Dynamics Are Power: Contrast is your most effective tool. The intentional use of silence and lower volumes makes the loud sections feel more impactful and prevents listener fatigue.
- Every Instrument Needs a Job: Define a specific sonic role and frequency range for each instrument in every section of the song. If two instruments have the same job, one is redundant.
How to Organize a 50-Track Session Without Losing Your Creative Mind?
A great arrangement can be undermined by a chaotic workflow. When your Digital Audio Workstation (DAW) session is a disorganized mess of 50 untitled tracks, your creative energy is spent searching and deciphering, not creating. A well-organized session is a form of meta-arrangement; it creates the mental space required to make smart, creative decisions. It’s the framework that supports your tonal architecture.
The first step is a consistent color-coding and grouping system. For example: all drum tracks are blue, bass is purple, guitars are red, keyboards are orange, and vocals are green. Group these tracks into busses (e.g., a « DRUM BUS » or « GTR BUS »). This allows you to control the volume and processing of an entire instrument group with a single fader, making broad-stroke arrangement changes effortless. Want to see how the song feels without guitars in the verse? Just mute the « GTR BUS. »
Next, develop a clear naming convention. « Audio 24 » is useless. « GTR_L_Verse_Clean » is invaluable. It tells you the instrument (Guitar), its panned position (Left), the section it plays in (Verse), and its tone (Clean). This level of detail removes guesswork and allows you to navigate your session at the speed of thought. Finally, create a DAW template. Set up your standard track layout, color-coding, and basic routing once. When you start a new song, you begin from a place of order, not chaos. This structured approach doesn’t stifle creativity; it liberates it.
Ultimately, organizing your session is about respecting your own creative process. It ensures that your focus remains on the music, allowing you to build complex, interesting arrangements without getting lost in a digital maze.